|
Overview
CAD software can be exported in a variety of 3D file formats: STEP, STL, IGES, etc. When translating to these universal file formats, there is always a possibility of losing data. The resulting files are also larger and take some time to create. To allow users a quicker solution, they can import their models into Vention without having to go through the tedious transition via a temporary file. We are now allowing the import of models up to 50MB in your favorite CAD system’s native format:
SolidWorks (.sldprt)
CATIA (.catpart)
Solid Edge (.par)
Parasolid (.x_t)
Unigraphics-NX (.prt)
Autodesk Inventor (.ipt)
Creo - Pro/E (.prt)
You also have the option to import in STEP, STL or IGES. Your design possibilities now extend far beyond the Parts Library. You can now instantly visualize your own components side-by-side with Vention Parts, directly from your favorite CAD system.
How to import a CAD file into a Design
Importing parts in Vention is simple.
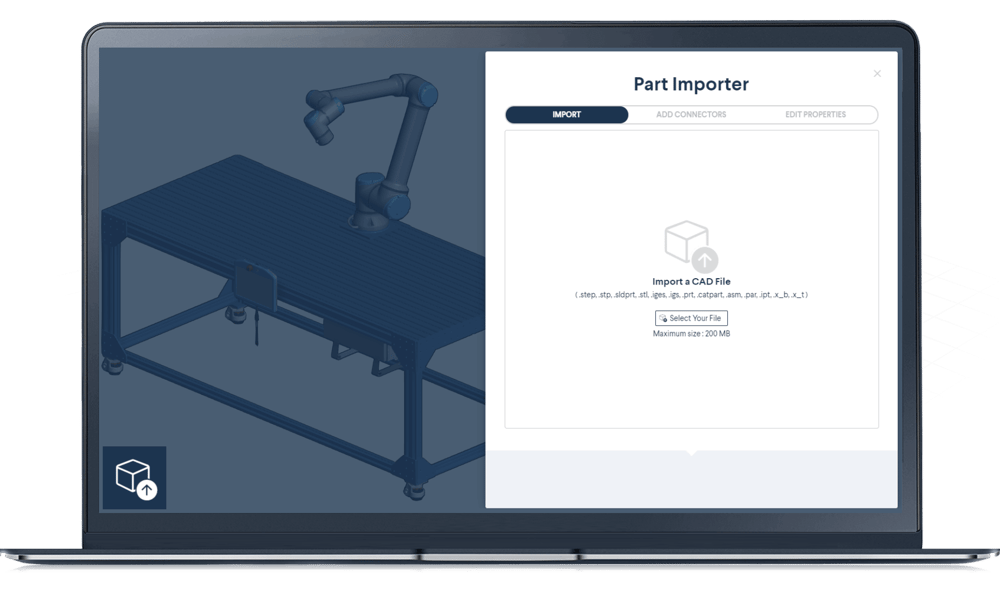
From the MachineBuilder you just have to open the menu in the top left corner and select CAD file import.
|
.png)
A new “Part Importer” window will appear that will ask you to select your file you would like to import. You can either click on “Select your file” or drag a file into the window.
|
.png)
After selecting your part, change to the “Add Connectors” tab. From here, select the “add connector” icon and attach it to the desired location on your imported part. Note that the connector will snap to the center of the geometry of the selected surface or edge.
|
From here, click “Next” which will bring you to the “Edit Properties” tab. Here you can fill in the general information of your imported part such as “Name”, “Weight”, and general description.
|
.png)
At this stage, you are also choosing between two different levels of privacy:
Private: only visible to people who have access to the design (Design Lead, Collaborators and viewers)
My Team: visible to all users from the same team (only available when My Team is activated)
After clicking on the green “Import” icon, the part will appear at the end of your mouse so you can drag it into the assembly like any Vention component. This part will now be accessible in the Imported Parts category under My Parts.
Once imported, and the connectors properly defined, your imported part will function similarly to that of a standard Vention component.