We now provide a starter template with all the code necessary to run, display, and automatically rebuild a React application when changes are detected.
Quick Start - Hello World Example
The simplest possible UI application consists of an index.html file in the ui/ folder with plain HTML, CSS, and JavaScript — no build step required.
1- Inside a new Python application, create a new directory and give it the name ui
2- In the new ui directory, create a new file and name it index.html
3- open the index.html file and paste this snippet:
<!doctype html>
<html lang="en">
  <head>
    <meta charset="UTF-8" />
    <meta name="viewport" content="width=device-width, initial-scale=1.0" />
    <title>My HMI</title>
    <style>
          button { font-size: 100px }
    </style>
  </head>
  <body>
    <div id="root">

      <button id="mybutton" onclick="ThisIsAButton()">
        This is a Button!
      </button>
    </div>
    <script>
      function ThisIsAButton() {
        alert("Hello World!")
      }
    </script>
  </body>
</html>
4- to see the Custom UI in action, select the Open HMI button. you will see the content of the index.html rendered in our HMI visualizer:
.png)
Simple Custom HMI example
Getting Started
Option 1: Using the Application Template (Recommended)
Simply select PythonTemplate in the Machine Logic New Application dropdown. This will provide you with everything you need to start developing your custom UI application.
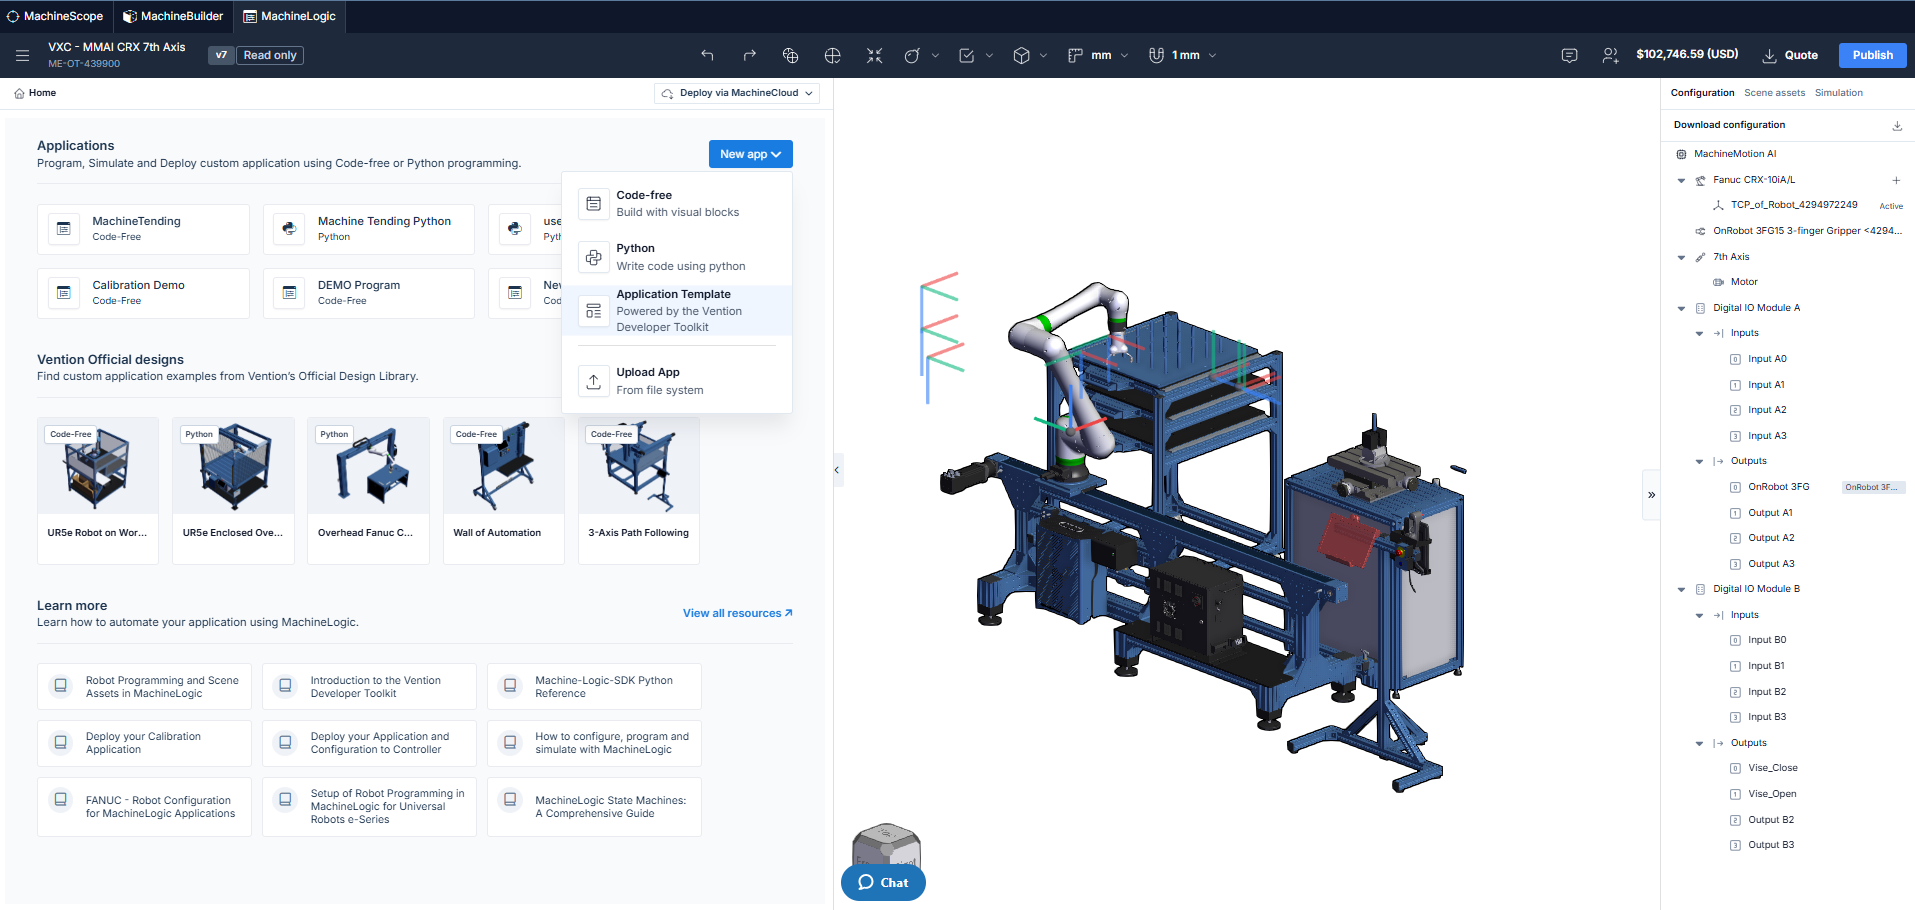
Accessing the application template
Option 2: Local Development Setup
If you decide to start your frontend application locally instead, you'll need to ensure your project configuration matches the required specifications.
Step 1: Configure package.json
Your package.json must have versions that match the demo, in particular for Vite and React:
{
  "name": "your-custom-ui-app",
  "version": "1.0.0",
  "type": "module",
  "scripts": {
    "dev": "vite",
    "build": "vite build",
    "preview": "vite preview"
  },
  "dependencies": {
    "@emotion/react": "11.13.3",
    "@emotion/styled": "11.13.0",
    "@mui/icons-material": "5.16.7",
    "@mui/material": "5.16.7",
    "@mui/styles": "5.16.7",
    "@tabler/icons-react": "3.35.0",
    "@vention/machine-logic-ui-sdk": "0.27.3",
    "@vention/machine-ui": "3.38.0",
    "@vention/machine-apps-components": "0.3.22",
    "buffer": "6.0.3",
    "dayjs": "1.11.18",
    "react": "17.0.2",
    "react-dom": "17.0.2",
    "react-draggable": "4.4.6",
    "react-hook-form": "7.53.0",
    "react-router-dom": "6.26.2",
    "tss-react": "4.9.13"
  },
  "devDependencies": {
    "@types/node": "^20.10.0",
    "@types/react": "17.0.82",
    "@types/react-dom": "17.0.25",
    "@vitejs/plugin-react": "^4.3.4",
    "typescript": "5.4.5",
    "vite": "^6.0.0"
  },
  "engines": {
    "node": ">=20",
    "npm": ">=8"
  }
}
Critical versions to match:
React:
17.0.2Vite:
^6.0.0TypeScript:
5.4.5
Step 2: Configure vite.config.ts
Create a vite.config.ts with the following configuration:
import { defineConfig } from "vite"
import react from "@vitejs/plugin-react"
import path from "path"
export default defineConfig({
  plugins: [react()],
  base: "./",
  resolve: {
    alias: {
      "@": path.resolve(__dirname, "./src"),
    },
  },
  build: {
    outDir: "../ui",
    emptyOutDir: true,
    minify: "esbuild",
    target: "esnext",
    cssMinify: "esbuild",
    sourcemap: false,
  },
  server: {
    port: 5173,
    host: true,
    hmr: {
      overlay: true,
    },
  },
  optimizeDeps: {
    include: ["react", "react-dom", "@mui/material", "@emotion/react", "@emotion/styled"],
  },
})
Key configuration points:
base: "./"- Uses relative paths for assets (required for proper loading)outDir: "../ui"- Outputs build to theuifolder at the parent leveltarget: "esnext"- Modern JavaScript output
Autobuild Feature Requirements
To enable the automatic rebuild feature, your project must follow this folder structure:
Required Folder Structure
your-application/
├── customui/          ← Your react source code goes here
│   ├── src/
│   │   └── main.tsx
│   ├── index.html
│   ├── package.json
│   ├── vite.config.ts
│   └── tsconfig.json
└── ui/                ← Build output goes here (auto-generated)
    ├── index.html
    └── assets/
        ├── main.js
        └── main.css
Build Output Requirements
Your build script must output the built files to a ui folder at the same level as the customui folder. With the vite.config.ts provided above, running vite build will automatically output to ../ui, which satisfies this requirement.
Summary
Requirement | Details |
|---|---|
Source folder |
|
Build output folder |
|
React version | 17.0.2 |
Vite version | ^6.0.0 |
Node.js | >=20 |
npm | >=8 |
Build base path |
|
Target |
|
For the quickest setup, use the Application Template option in Machine Logic. For custom local development, ensure all configurations match the specifications above.
Advanced: Faster Build with esbuild
The Application Template includes an optimized build script using esbuild directly, which is faster than the standard Vite build. If you want to use this approach, update your package.json with the following:
{
  "scripts": {
    "dev": "vite",
    "build": "esbuild src/main.tsx --bundle --outdir=../ui/assets --format=esm --target=esnext --loader:.tsx=tsx --loader:.ts=ts --loader:.css=css --splitting --entry-names=main --chunk-names=[name]-[hash] && sed 's|/src/main.tsx|./assets/main.js|g' index.html | sed 's|</head>|<link rel=\"stylesheet\" href=\"./assets/main.css\"></head>|g' > ../ui/index.html && chmod -R g+w ../ui",
    "preview": "vite preview"
  },
  "devDependencies": {
    "esbuild": "^0.24.0"
  }
}
Build Script Breakdown
This script performs the following steps:
# 1. Bundle with esbuild
esbuild src/main.tsx --bundle --outdir=../ui/assets \
  --format=esm --target=esnext \
  --loader:.tsx=tsx --loader:.ts=ts --loader:.css=css \
  --splitting --entry-names=main --chunk-names=[name]-[hash]
# 2. Transform index.html and output to ui folder
sed 's|/src/main.tsx|./assets/main.js|g' index.html | \
sed 's|</head>|<link rel="stylesheet" href="./assets/main.css"></head>|g' \
> ../ui/index.html
# 3. Set group write permissions
chmod -R g+w ../ui
What each part does:
esbuild bundling - Compiles and bundles the TypeScript/React code with code splitting enabled
HTML transformation - Updates
index.htmlto reference the built assets:Replaces
/src/main.tsxwith./assets/main.jsAdds the CSS stylesheet link to the head
Permissions - Sets group write permissions on the output folder
This approach is faster for incremental rebuilds but requires the additional sed commands to transform the HTML file.